Week 7 Notes – A Little More on Text in Video Possibilities
Monday 10/06/2025: Research and understand text possibilities
It was agreed that I would spend a little time this week -in addition to completing my final two videos- playing a bit more with type. And especially the animated type made available in After Effects and Bridge. So, here are some samples of working with pre-animated type starting with my logo which I will use on my final videos.
For the logo above and the video below I used a 3D Fly In Behind Camera effect which is one of the effects I like the most. At least for my logo. I am not sure where else I might use it. It definitely gives a “classy” appearance.
For the next video I used a Harsh Blur In and Out effect which I probably wouldn’t use much.
For the next video I used a 3D Scramble Blur – which is kind of funky.
This next video is a Slow Fade Up effect -which I really like with words and characters.
And though I actually did quite a few more, this typewriter effect is the last effect I will show. It is similar to the fade up characters, but it adds a little more effect to the characters rather than just loading text.
I also realized in this process I could add multiple text effects to a single word or set of words. For example, in the 3D effects, they mostly just ended “hard” and not with a soft fade out. So, I was able to add an opacity effect to fade the 3D effects out for a soft landing. VERY cool.
Tuesday 10/07/2025: Starting on Final Videos
So, over the last few days I have been crafting some assets for my final two videos and started working on -and completed- my 1-min Panorama video. In this video I tried to use many of the techniques I have learned over the last 6 weeks and incorporate them into the video. This would include -but not be limited to:
1) Using sound to launch the video
2) Using the Puppet Tool in After Effects for element movement
3) Using different text techniques through out the video and not just one style.
The key to the Panorama video is to tell a -very- short story, which includes some facts, and captures the viewer with visuals, narration and sound.
Here is what I have crafted -using all the techniques I learned to achieve the key goal- for my final 1-minute Panorama video for this class:
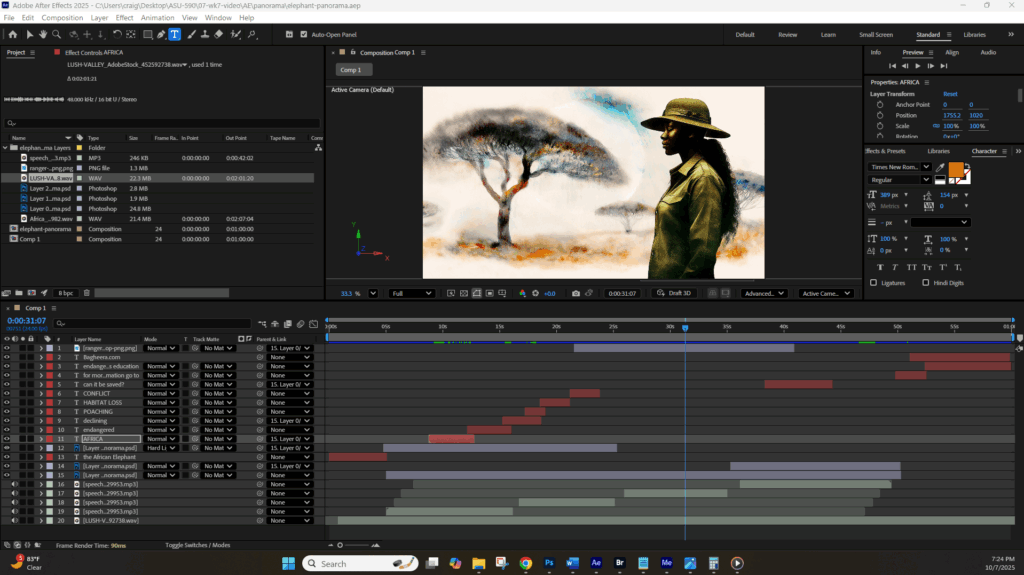
And below is a screen shot of the AE workplace for this video so you can see some work – a lot actually – went into crafting this 1-minute Panorama video.
And now off to start on the 1-minute Title Sequence Animation. And something interesting I realized about that just today, and that is, there is no “narration” in a Title Sequence Animation. There is audio, and there is text, but there is no narration to speak of.
Interesting I hadn’t thought of that before, but I did think of it when I was editing the Panorama video and was thinking “what narration will I use for the 1-minute Title Sequence Animation, and then realized there was NO narration in Title Sequence Animations. At least I have never heard any narration. Just image, panning and zooming, audio and some video or movement.
I don’t know if that makes it easier -since there is less work- or harder -since you have one less asset to make the video engaging. Interesting to think about. Interesting to talk about on Friday.
Wednesday 10/08/2025: Starting the 1-minute Title Sequence Animation video
So, I spent quite a bit of time gathering assets and crafting this first version of the 1-minute Title Sequence Animation video. I still have questions about the best way to present text, but I realized by doing this that these -like the majority of Title Sequence Animations, might work well even without any narration.
Here is the first draft. I will be tweaking it tomorrow after taking a step back from it. And I was going to post this one in 720p as I really wanted it to look its best. However, I will do that for the final video. I am doing this in 480 due to file size. The issue with 480 is mostly with the text. The file size is small and the text looks crappy. But again, for the final I will do it in 720p as I know the text looks sharper and brighter.
Thursday 10/09/2025: Day 2 of working on the 1-minute Title Sequence Animation video
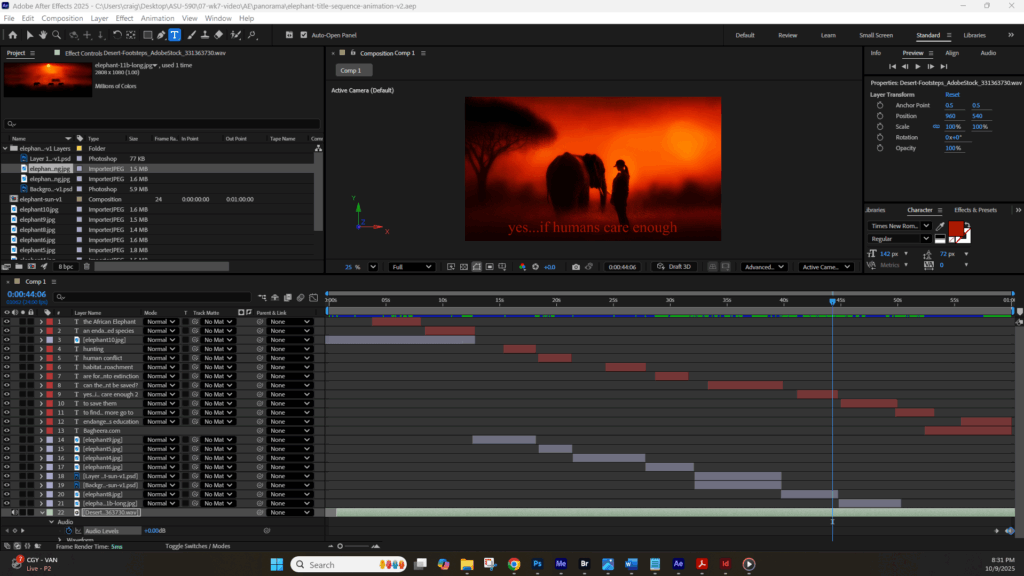
OK…LOTS of tweaks on Day 2 on this 1-minute Title Sequence Animation video including smoothing out transitions, adding additional images, adding animation to a still image object and tweaking the text a bit.
I am pretty satisfied with the results of this video, in large part because it seems to pass quickly which to me means it is engaging. I have used almost all the techniques learned in this Independent Study in this video. And yes, the After Effects page is QUITE crowded with assets (see below the video).
I am sure there are things I can do to improve this (text?) but again, this video uses all the techniques studied such as panning; zooming; adding text; audio that many of the Title Sequence videos reviewed use. Again, it is not as sophisticated as say the Peripheral Title Sequence video, but that’s only because I don’t have that level of skill (yet).
I am looking forward to the feedback I will get on these two 1-minute videos since they are an accumulation of what I have learned over the last 7-8 weeks. And I am quite satisfied with what I have learned, and what I am now able to create. It only gets better from here.
That said, here is the “tweaked” 1-minute Title Sequence Animation video. I did render this one in 720p as I do want it to look as good as it can for this review.
OK…scratch the 720p as it kept on pausing during playback. I am going to look for a different encoding setting I can use that will be of better quality and not quite so large.
OK…this is called “High Quality 480 SD Wide” and it is not perfect -or the quality of 720p- but it is better than the “Mobile 480” and is only 20MB as compared to the 35MB of the 720p, so it should play more smoothly.
And actually that didn’t work much better. So, my solution is I am posting two versions of the same video – Mobile 480SD which is only around 6.5MB and plays easily and Mobile 720p which may not play easily the first time but will play easily the second time once buffered. That is my solution for this project. However, when I am publishing these for real, they will be published in Vimeo so there will not be any buffering issue.
Here is the 480 SD Wide version (at 6.77MB) which plays nicely.
Here is the 720p HD version (at 31.9MB) which also seems to play well.
The main difference between the two is the sharpness and vibrancy of the text. And I realize we talked about the “visuality” of the text, however, I am curious where the line between art and accessibility meet. I think the text could be a bit more vibrant – and I did try to brighten it up a bit- but again, my “text” skill level needs work to make achieve that balance. But for this video, I do think it has met the “artistic” threshold, if not the accessibility threshold.
Finally, here is an image of my VERY crowded After Effects workspace. Even more crowded than the workspace for the Panorama video which -at the time- I thought was quite crowded : )