Week 2 Notes – Tweaking the goals of my GIT-590 Independent Study
- Create story boards for two 1-minute videos.
- Explore how to add motion to these videos
Tuesday 09/02/2025: Create storyboards and adding animation
After a great first GIT-590 Independent Study conversation with my faculty instructor and coach Professor Sangmeister, the goals of this Independent Study have changed just a bit:
1) I will be making 2-one-minute videos instead of one.
2) Whereas the first 1-minute video will still be based on a “panorama” video style, the second 1-minute video will be a “short” version of a Title Sequence Animation style video.
The 3-minute video will remain a goal, but it will be more or a cumulation of the skills that I develop working on the first 2 videos.
To that end, this week I am focusing on two things:
1) Crafting storyboards for each of the 1-minute videos.
2) Adding a bit of animation to these videos.
I started by exploring how to add animation to each of these videos. I assume it would be a harder task than crafting the storyboards; I was right.
Since I was thinking that I only needed a little movement in these videos -just enough to get a bit of attention- my first thought was to explore using the puppet tool in After Effects. It seemed with the puppet tool I could move an animal’s head, or its tail or a paw or foot and that would be enough to give a sense of motion, especially on the panoramic style video.
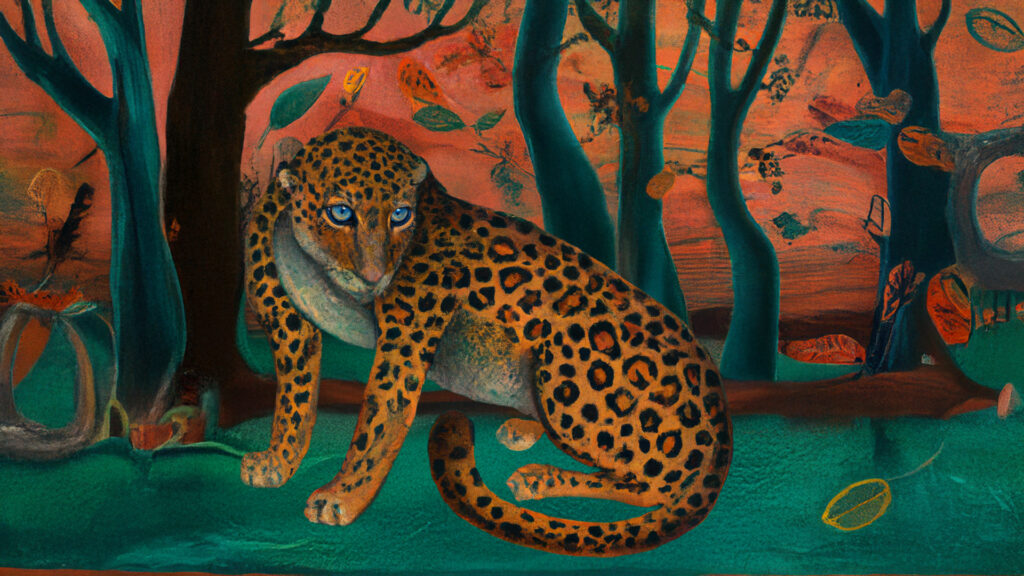
So, I used the puppet tool in After Effects to create a bit of movement on a leopard’s foot and tail. And even though this limited movement might actually be enough movement for a panorama video once all the other elements were added such as voice, text and sound bed, I thought it might be a bit limiting for the results I want to achieve.
Here is the first video attempt using After Effects puppet tool (and yes, I added a little “Wiggle” : )
Considering this first attempt limiting, I thought I would explore the idea of creating a video in Sora -OpenAI’s video creation tool- and then remove the background in Premiere Pro and then add the resulting video layer to the panorama background to see how that might work.
Well, removing a green screen background from a video created in Sora is not quite as easy as one might think, and the results were less than of a quality nature. And I am sure some of that has to do with my limited skill set using Premiere Pro, but, I do think some of quality issues have to do with Premiere Pro as well. But I can be convinced otherwise.
I was so disappointed with the results I never actually created a video from my efforts.
From this disappointment, I decided to go back to After Effects to see if there was another tool I could use instead of the puppet tool, and there was; the roto brush tool. At first I was totally confused how to use this tool, but after a number -make that a lot of numbers- of YouTube videos I did get the gist on how to use it. And I am quite pleased with the results though I know there is a LOT of exploring to do on how to use the tool properly -i.e. clean up all the edges- and how to integrate the new video into an existing background where the two videos might be quite different in color quality etc.
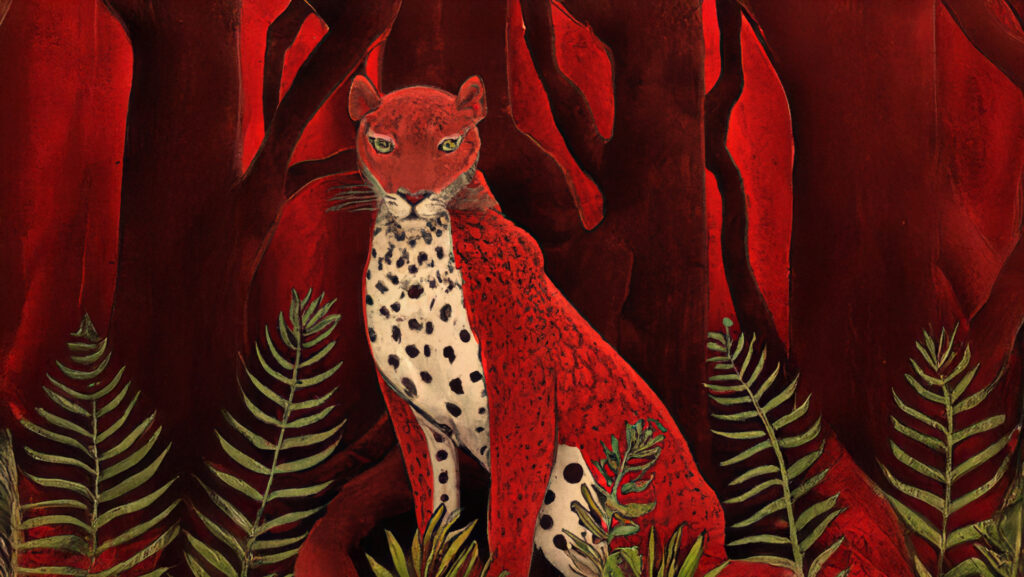
I did start by creating a cheetah video in Sora, and then brought it into After Effects and used the roto brush tool to edit it for the panorama background. Below are some of the results. Again, I think both the puppet tool and the roto brush tool can allow me to effectively add “some” movement to either my 1-minute panorama videos or the 1-minute title sequence style videos, and actually the 3-minute video as well. I also tried adding an overlay to the third video to see if I could find a way to make the cheetah blend more comfortably in with the background. LOTS of work needed here.
Again, I am not looking to add a “lot” of video movement to these videos, just enough to enhance the visual effect and add to the storyline. This is where I am starting.
Attempt 1: Cheetah moving against background.
Attempt 2: Cheetah moving with background.
Attempt 1: Cheetah moving with background with overlay
Since I am comfortable that After Effects is the right direction for adding some motion to my videos -whether by the puppet tool or the roto brush- I will focus tomorrow’s attention on creating the storyboard for the 1-minute panorama video.
Wednesday 09/03/2025: Create storyboard for 1-minute “Profile” video
The 1-minute “Profile” panorama video is built on a slow, continuous pan across an ecosystem, with subtle imagery of a species layered in. The structure is divided into five distinct Beats, each carrying a piece of information to create a clear and memorable learning arc. These five Beats — Location & Habitat, Conservation Status, Threat, Action, and Urgency, not only provide content consistency across all videos, but provide enough information about a specific species or conservation issue for a learner to have a “learning” experience.
Storyboard Framework – Profile Version (Panoramic Style)
- Beat 1 – Location & Habitat → Start with ecosystem.
- Beat 2 – Conservation Status → Population, IUCN.
- Beat 3 – The Threat → Causes of decline.
- Beat 4 – The Action → What can/should be done.
- Beat 5 – The Urgency → Why it matters / time horizon.
SAMPLE STORYBOARD: Jaguar – Profile Storyboard
Beat 1 – Location & Habitat (0:00–0:10)
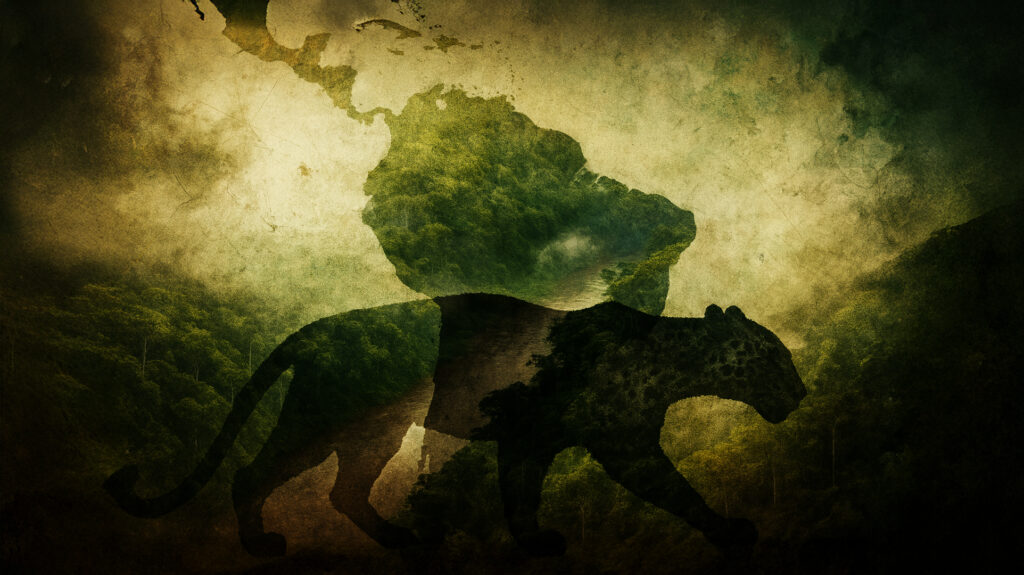
- Visual: The video starts with a slow pan of the Amazon Rainforest, morning mist rising, rivers weaving through trees.
- On-screen text: Amazon Rainforest – South America
- Narration: “The jaguar lives deep in the rainforests of the Amazon, where rivers and shadows intertwine.”
- Audio: Calm, documentary-style score.
Beat 2 – Conservation Status (0:10–0:20)
- Visual: The pan continues, moving closer to reveal a jaguar moving silently through the undergrowth.
- On-screen text: Near Threatened – ~15,000 remain
- Narration: “Once roaming across the Americas, fewer than 15,000 remain in the wild today.”
- Audio: Neutral, steady.
Beat 3 – The Threat (0:20–0:35)
- Visual: The pan shifts across logged forest with gold mining pits scarring the earth. A jaguar silhouette at the edge.
- On-screen text: Deforestation • Gold mining • Human conflict
- Narration: “Deforestation, gold mining, and conflict with humans are destroying their home.”
- Audio: Darker tones creep in.
Beat 4 – The Action (0:35–0:50)
- Visual: The pan reveals protected forest signs, camera traps, and a corridor of intact jungle. A jaguar steps cautiously into the clearing.
- On-screen text: Protect forests • End illegal mining • Build safe corridors
- Narration: “Protecting forests, ending illegal mining, and creating safe corridors can ensure their survival.”
- Audio: Music swells with hope.
Beat 5 – The Urgency (0:50–1:00)
- Visual: Close-up of a jaguar’s golden eyes staring into camera. Reflection shows vanishing jungle. Fade to black.
- On-screen text: Time is running out.
- Narration: “Without action, the jaguar could vanish from much of its range within our lifetime.”
- Audio: Gentle fade, somber finish.
Tomorrow’s focus will be creating a storyboard for the 1-minute “Title Sequence” video.
Thursday 09/04/2025: Create storyboard for 1-minute “Title Sequence” video
Due to the nature of a Title Sequence video being more transitional than a Panorama video, the storyboard becomes a bit more complicated when it comes to crafting images for the video. Whereas the Panorama video relies on a single scrolling video, the Title Sequence requires a series of changing images throughout the video.
Since I am in this Independent Study to actually understand the best techniques for both styles of video, the following is just a guess on my part on what I think will work which I can then discuss with my instructor / coach.
Here is my idea of how a 1-min Title Sequence could be structured:
Jaguar – Title Sequence Storyboard (Profile Version)
Opening (0:00–0:05)
- Visual: Abstract green textures dissolve into a rainforest canopy.
- Image count: 1 image (stylized rainforest pattern → canopy dissolve).
- Text: Amazon Rainforest – South America
- Narration: “The jaguar lives deep in the rainforests of the Amazon.”
- Audio: Atmospheric entry, slow build.
Beat 1 – Location & Habitat (0:05–0:15)
- Visual:
- Image 1: River winding through rainforest.
- Image 2: Jaguar silhouette fades in, half hidden in shadows.
- Image count: 2
- Text: Amazon Rainforest
- Narration: “Where rivers and shadows intertwine, this cat reigns supreme.”
Beat 2 – Conservation Status (0:15–0:25)
- Visual:
- Image 1: Jaguar dissolves into silhouettes → multiple fading away.
- Image 2: Map of Americas glowing, shrinking to highlight Amazon.
- Image 3: Stylized population count fades in: ~15,000 remain.
- Image count: 2–3
- Text: Near Threatened – ~15,000 remain
- Narration: “Once roaming across the Americas, fewer than fifteen thousand remain today.”
Beat 3 – The Threat (0:25–0:35)
- Visual:
- Image 1: Trees dissolve into stumps → morph into scars across soil.
- Image 2: Gold veins crack across screen, bleeding into black.
- Image 3: Jaguar silhouette overlaid with firelight.
- Image count: 2–3
- Text: Deforestation • Gold mining • Conflict
- Narration: “Deforestation, mining, and human conflict are destroying their home.”
- Audio: Darker tones, faint metallic clink.
Beat 4 – The Action (0:35–0:45)
- Visual:
- Image 1: Sapling grows from cracked ground, morphs into canopy corridor.
- Image 2: Jaguar steps forward, crossing intact forest.
- Image count: 2
- Text: Protect forests • Build safe corridors
- Narration: “Protecting forests and creating safe corridors can ensure their survival.”
- Audio: Music swells with hope.
Beat 5 – The Urgency (0:45–0:55)
- Visual:
- Image 1: Jaguar’s golden eyes in close-up.
- Image 2: In reflection → rainforest split: lush on one side, barren on the other.
- Image count: 2
- Text: Time is running out
- Narration: “Without action, the jaguar could vanish within our lifetime.”
- Audio: Crescendo → soft fade.
Closing (0:55–1:00)
- Visual: Eyes fade to black. Title card or closing phrase appears.
- Image count: 1
- Text: Act now.
- Narration: (Optional closing whisper)
- Audio: Music resolves into silence.
Image Rhythm Recap
- Opening/Closing: 2 images
- Beats (2–3 each): 10–12 images
- Total: 12–14 images
This is just a “first-draft” concept for the Title Sequence video, and will no doubt require quite a bit of both “tweaking” and “technical” knowledge -as in layering and camera movement- to bring this style of video to an effective messaging and learning tool.
Tomorrow -Friday- after our conversation I will work on the video skills -Premiere Pro; After Effects; Photoshop to start crafting these videos.
QUESTIONS:
1 How long should the “intro” and “outro” be for a 1-minute video -both Profile and Title Sequence- and how should the intros be styled for each? And how does this relate to “branding” of a company, product or individual?
2 How many images are “enough” and how many “too much” in a Beat (i.e. 10 seconds).
3 Is the “movement” of the images in the video based on “feel” or “template?”
4 Is there a “sequence” of movements that should be applied like starting from a distance or starting close up and then moving to a distance? Or is this also based on “feel.”
5) Is the “layering” of images in the Beats best done in Photoshop or in Premiere Pro or After Effects?